Folding Carton Styles Explained: Tuck-End, Auto-Bottom, Sleeve
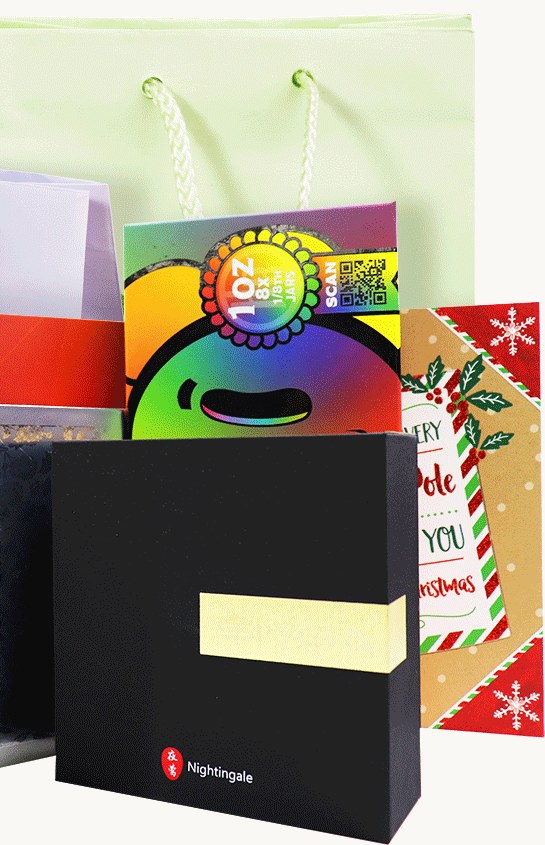
Ask for “a custom box” and any factory will reply with a counter-question: which style? Folding carton styles are not cosmetic variations — the style determines how the box opens, whether it needs hand-assembly, how it survives shipping, and what it costs per unit. Two boxes with identical printing can behave completely differently because one is a reverse tuck and the other an auto-bottom.
Here is the style guide we walk buyers through before any dieline is drawn, based on the structures we run daily on our Heidelberg lines. All four sit inside our custom printed boxes line: 250–400 gsm board, Pantone-matched inks, MOQ from 1,000 pieces per design.
The four core folding carton styles
1. Reverse tuck (RT) — the everyday workhorse
Flaps on both the top and bottom tuck in opposite directions, so the whole carton dies out of one piece with minimal glue. That makes it the most economical style per unit and the fastest to assemble.
Best for: lightweight products — cosmetics cartons, supplement boxes, tea retail packs — where the box ships inside an outer case and the shelf moment matters more than structural drama.
Watch-out: two tuck panels mean two visible seams on the back. Fine for most designs; worth knowing if your artwork wraps a pattern around all four panels.
2. Straight tuck (ST) — one clean face
Both tuck flaps fold to the same side, giving the front panel an uninterrupted face — no visible seam edge where a badge or logo would sit awkwardly.
Best for: designs with full-bleed front artwork, gift-oriented cartons, anything where the front face is the photograph.
Watch-out: slightly less board-efficient than reverse tuck, so the unit price ticks up a little. If your front panel is simple, reverse tuck saves money nobody will miss.
3. Auto-bottom (crash-bottom) — the strength upgrade
The base arrives pre-glued: push the box and the bottom snaps into place automatically, locked on all four sides. It is the strongest base in the folding carton family and the fastest to hand-fill — no folding the bottom flaps, no double-checking.
Best for: heavier contents (jars, candles, electronics accessories), e-commerce orders where the box travels alone, and co-packing lines where filling speed is money. Auto-bottom cartons can be supplied pre-glued flat and still pop open in one motion.
Watch-out: the pre-glued base adds a glue step at our end, so unit cost sits above tuck styles — and the box ships flat but cannot go back down.
4. Sleeve — the wardrobe change
A sleeve slides over a tray or over the product itself. It carries the branding while a plain tray or liner does the structural work, which splits your budget: spend on the printed sleeve, save on what is underneath.
Best for: premium single items (candles, skincare jars, chocolate bars), and product families where one tray size serves many designs — print new sleeves without retooling the tray.
Watch-out: a sleeve alone has no structure. Budget for the tray or liner it slides over.
Side-by-side: how to pick in ten seconds
| Style | Opens / closes | Glue needed | Best for | Relative cost |
|---|---|---|---|---|
| Reverse tuck | Tuck flaps, opposite sides | Minimal | Light retail products, fast turnaround | Lowest |
| Straight tuck | Tuck flaps, same side | Minimal | Full-bleed front artwork | Low |
| Auto-bottom | Snaps open, glued base | Pre-glued base | Heavy contents, e-commerce, fast filling | Medium |
| Sleeve | Slides over tray/product | None (on sleeve) | Premium singles, multi-SKU families | Medium + tray |
Two more structures sit outside this table: two-piece lid-and-base cartons (the rigid-box silhouette at carton prices — see our rigid box line for when you outgrow folding board entirely) and window patching, where a PET, rPET or plant-fiber film is glued behind a die-cut opening so the product shows through. Windows work on any of the four styles above, and pair naturally with inserts: a corrugated cradle or molded tray under the film holds the product steady at the glass.
Style is the skeleton — the finish is the outfit
The style choice above decides structure; finishing decides shelf presence, and every finish layers onto any style. Soft-touch lamination over straight-tuck cartons is the current premium default for beauty brands. A single hot-stamped foil logo on matte film turns the cheapest reverse tuck into something that photographs like a gift box. Spot UV on the pattern of a sleeve adds depth without extra ink stations. See the full finishing range — foil, spot UV, embossing, textured press — on our capabilities page, all produced in-house so the finish registration never depends on a subcontractor.
Three questions that pick your style for you
- How does it reach the customer? Inside an outer shipper or e-commerce mailer → a reverse tuck is all the structure you need. Traveling alone through courier networks → auto-bottom, no debate.
- Who opens it, and how often? A shelf box opened once at purchase → tuck styles. A storage box opened daily → auto-bottom or two-piece.
- Where does the money show? If the front face carries the brand moment → straight tuck for the clean face, or a sleeve for the layered reveal.
Answer those three and the style chooses itself; everything else — Pantone-matched inks, inside printing, soft-touch lamination, foil — layers on top of any of them.
One economics note before you decide: style also interacts with quantity. Tuck styles start cheapest and scale gently; auto-bottom and two-piece start higher but their glue and assembly steps amortize sharply past 5,000 pieces — the crossover point is worth seeing in a tiered quote before you commit a long-running SKU.
What happens after you pick
Style chosen, our pre-press team draws the structural dieline to your exact dimensions — free of charge — and your artwork drops onto it for a pre-flight check. A physical sample on the real board and finishes ships in 3–5 days; mass production runs 10–15 days on the Heidelberg CD102 with CTP plating, from a MOQ of 1,000 pieces per design.
Undecided between two styles? Say so in the quote request — producing your first sample in both styles costs a few days, not a redesign, and settling it in the hand beats settling it in a spec sheet.