How to Prepare Artwork for a Custom Box Dieline
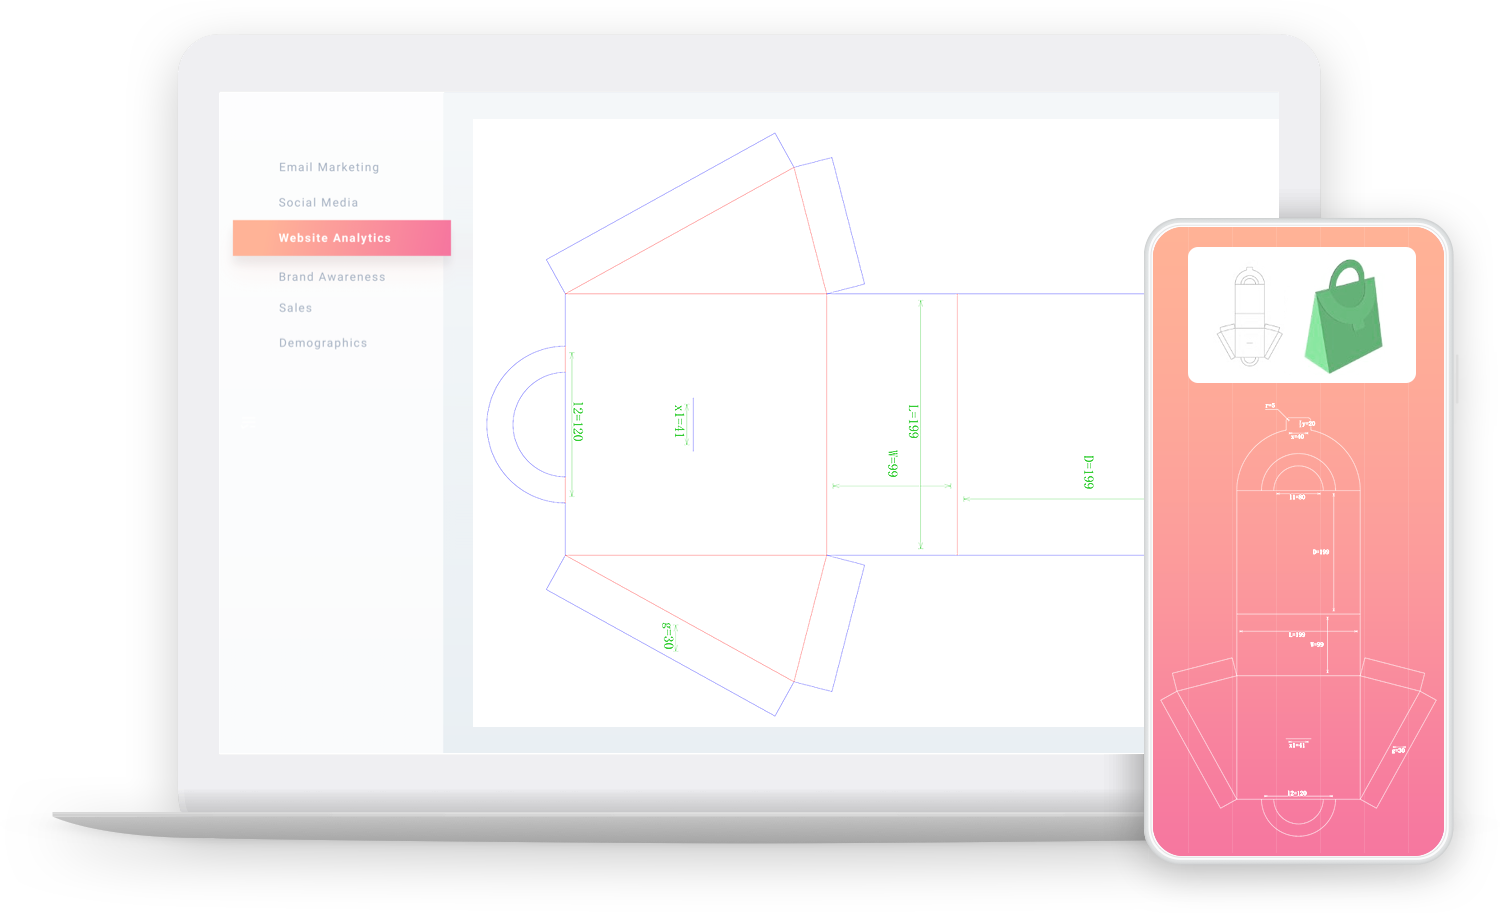
Between a great design file and a great box sits one document most brands have never seen: the custom box dieline. It is the flat, cut-and-fold template of your box — every panel, flap, glue tab and bleed zone drawn to the millimeter — and your artwork either obeys it or the project stalls. In our pre-press department, dieline mismatches are the single most common cause of delayed orders. All of them are avoidable with the checklist below.
What a dieline actually shows
A dieline looks like a flat pattern of rectangles and curves, and every line type means something:
- Solid cut lines — where the steel die will cut the board
- Dashed or colored fold lines — where creasing wheels score the board for folding
- Bleed zone — extends 3 mm past every cut line; artwork must cover it so trimming never leaves white edges
- Safety margin — 3–5 mm inside every fold and cut; nothing critical (logos, text, barcodes) lives here
When you order, we draw this template to your exact dimensions — free of charge, engineered around your product — and you place your artwork onto it like coloring inside an advanced coloring page.
A worked example: a 100 × 80 × 30 mm reverse-tuck carton unfolds into a flat cross of panels. The front panel artwork must extend 3 mm past every edge that will be cut (bleed), keep the logo 5 mm from every crease (safety), and account for the fact that the top flap folds behind the front — so the design has to make sense with flaps up, down and closed. The dieline is where a designer discovers that a box has six visible faces, not one.
The file standards that keep a job on schedule
| Item | Standard we need |
|---|---|
| File format | AI (Adobe Illustrator) or print-ready PDF |
| Fonts | Converted to outlines/curves — or packaged with the file |
| Images | 300 dpi at final printed size |
| Color mode | CMYK, plus PMS numbers called out for spot colors |
| Bleed | 3 mm beyond every cut line |
| Barcodes | Vector, with quiet zones intact — we verify scannability |
| Proofing | We return a digital proof for approval before plating |
One note on color: screens are RGB, presses are CMYK. Files designed in RGB shift when converted — bright blues and oranges drift most. Design in CMYK from the start, call out any brand-critical color as a PMS spot, and we will match it with a printed drawdown approved before the run.
The seven mistakes that actually delay orders
These come straight from our pre-press queue, in order of frequency:
- Low-resolution images. A logo grabbed from a website is 72 dpi; at print size it becomes visible blocks. Vector logos or 300 dpi images only.
- Live fonts. Unconverted fonts fail on a different machine, and the text reflows. Outline everything.
- Critical content inside fold or glue zones. A tagline split by a crease, a barcode on a glue tab — the dieline’s safety margins exist for exactly this.
- Missing bleed. Backgrounds that stop at the cut line leave hairline white slivers on every box.
- RGB color mode. The RGB-to-CMYK conversion shifts neon blues and oranges; design in CMYK or approve the drawdown.
- Artwork built to a guessed size. The file was drawn for a 100 × 80 × 30 mm box; the product needs 105 × 85 × 35. The dieline comes first, artwork second.
- Hairline fonts on kraft or dark board. Fine white text on uncoated kraft fills in; thin reversed type on black card breaks up. Minimum stroke weights exist for a reason.
Every one of these is caught in our free pre-flight check before plating — but each catch-and-fix round costs a day. Files that arrive clean skip the queue entirely.
What our pre-press team does for you
Artwork preparation is a two-way workflow, and the factory side is included in every order: a ten-person pre-press team draws the dieline, checks the file against the seven points above, confirms color separations for CTP plating, and returns a digital proof for your approval. Structural engineering — the box fitting your product, inserts cut to shape — is part of the same stage, not a separate invoice. Rigid gift boxes add inner platforms and cradle cutouts to the dieline itself; folding cartons add tuck-flap friction fits tested by hand. The artwork file is only ever half of the document.
If you do not have a designer, the pre-press team can lay out your files onto the dieline from brand assets as simple as a logo and a color palette. If you do have a designer, send them this article; it is shorter than the revision cycle they are about to save you.
Designers who work with factories for the first time often ask about file hand-off: layered AI files with the dieline on its own locked layer are ideal, PDFs work, and even Figma exports pass pre-flight if images are embedded at 300 dpi. The one thing we ask teams not to do: flatten the dieline into the artwork layer — a cut line printed as a visible line on a finished box is exactly as fun as it sounds.
The proof chain: three checkpoints before mass production
- Dieline approval — you confirm the structure and panel layout
- Digital proof — your artwork placed on the dieline, checked for color separations, bleeds and safety zones
- Pre-production sample — the physical box on the real board and finishes, in your hands before the run
Mass production starts only at checkpoint three. The sample round adds 3–7 days depending on the structure — and it is where the last surprises are supposed to happen, which is exactly why we insist on it.
Send it right the first time
Ready-to-check files, a napkin sketch, or nothing but product dimensions — all three are valid starting points at our quote form. The dieline comes back free within your quote, the pre-flight is on us, and the sample proves everything before the production schedule is booked. Files that pass pre-flight on arrival are the jobs that ship first.